Google+

Exploring Japan with Books and More


Disclosure: Tuttle Publishing gave me a copy of this book free of charge. All opinions in my review are my own and I did not receive any other compensation. As in all my reviews I am providing links for your ease, but receive no compensation.

In the next few weeks we will be sharing our exploration of Japan. We started our exploration with an exploration of cherries which we will post about as one of our Friday Fruit Explorations. When I went to look at books about cherries I was reminded of the Cherry Blossom Festival in Japan and thought it was the perfect tie in for our exploration. I contacted Tuttle Publishing and asked for some books about Japan and Japanese. Today I am going to share/review two of them with you. The first book is My First Book of Japanese Words: An ABC Rhyming Book by Michelle Haney Brown.
As with My First Book of Chinese Words which I reviewed in July, this book goes through the English alphabet sharing a Japanese word that starts with that sound. In the beginning the book has an introduction to Japanese as well as a pronunciation guide. To me one of the best part of these books is learning a bit about the culture and life in Japan. For example, t is for tanuki which is a raccoon dog. I did not know what a raccoon dog is, but found it interesting to see an animal we do not have that lives there. They also mention that Japan does not have skunks. Did you know that in Japan they have a version of Rock, Paper, Scissors? In this book you learn more about the train, food and animals of Japan. I find this book as a perfect introduction to studying Japan. It gives you an overview of things that are the same and different with our cultures and introduces the language at the same time.


The next book is Japanese Children's Favorite Stories by Florence Sakade. This is a fun book of traditional Japanese tales. This book has sequels since it has been so popular for sixty years. We love it! Hazel asks me to read her a couple of the stories each night. Through these traditional stories the reader learns a bit about Japanese culture. From the food and animals to jobs you see what life in Japan is and was like. Some stories talk about the islands of Japan and others tell you about things in the culture like tea, fans and such. The pictures are spread throughout the stories give a glimpse of the things that are happening in the stories as well as the traditional clothes.

These wonderful books are as always of the highest quality and well made. I love the books Tuttle Publishing puts out. They were the perfect introduction to a look at Japan. As I mentioned we will be exploring more about the country, language and culture in the next few weeks.

For some more on Japan check out:

DIY Doll Panties from Onesies And Inserting Elastic Tutorial


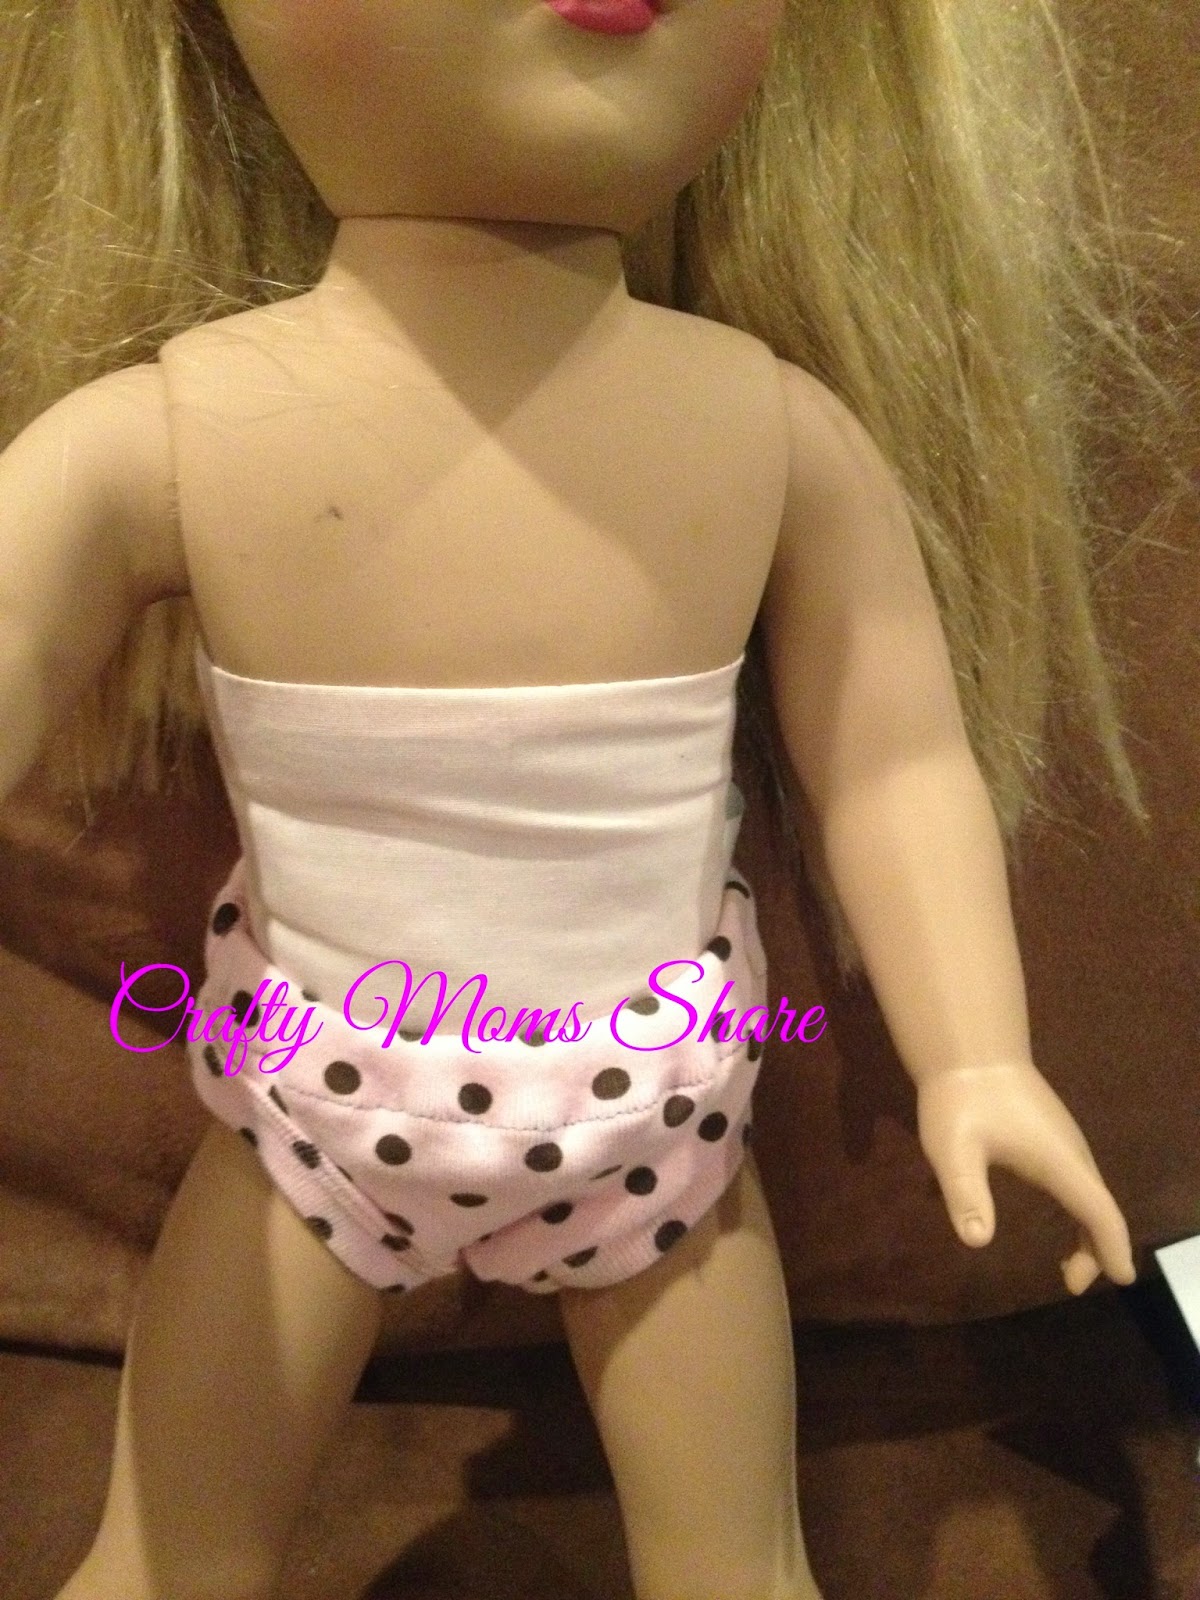
A few weeks ago I showed you how we made doll t-shirts from newborn onesies. Well one  of the things that really bothers me is dolls with no panties and naked dolls. (I hated the stage where we would find naked dolls all over the house. I'm so glad she outgrew that one.) I wanted to buy some panties for Hazel's dolls but was shocked at the prices. I hadn't gotten around to finding a good pattern to make any. Then I saw the bottoms of the newborn onsies that I had used for t-shirts and thought those could be panties. They are pretty easy to make and work as panties. They are not perfect, but since I already had the onesies they are free. So if you have already cut the onesies for a t-shirt you take the bottom and cut the snaps off. I just cut the cuff part off. Then you sew a seam there with right sides together. Next finish the waist seam with a zigzag or rolling seam and fold it down twice so you can fit 1/4-inch elastic through. Sew at the bottom leaving an opening for the elastic.
Next measure the elastic to the dolls waist (American Girl dolls are 10 1/2 inches) and it does not have to be perfect as long as it is not too big. Attach a safety pin to one end and insert the pin through the hole you left in the casing.
Move the safety pin around the casing pulling the elastic through, but make sure you leave a tail of elastic at the opening or you will have to start over. Once all the way around you will have both ends sticking out the opening.
Sew the two ends together to form a loop. Then stick the ends into the casing.
Then stitch the casing closed in the spot that was opened. Turn right side out and you have a pair of doll panties!
And they match one of the doll's t-shirts for perfect underwear combination or pajamas!
I made some for each doll. On the plain white pair I added a little lace to dress them up.
Now I hopefully won't find naked dolls. They can at least have their panties on!

For more doll ideas check out:


Sharing Saturday 14-33

Sharing Saturday Button

Thank you to everyone who shared with us last week and to all who took the time to visit all the amazing ideas shared. We did not have a most clicked, so this week I am featuring some new painting ideas, back to school and first day of school ideas as well as a few of my favorites.


Painting Features

1) From P Is for Preschooler: Magnet Painting

2) From Inspired Montessori and Arts at Dundee Montessori: Doily Prints


First Day of School and Back to School Features

1) From Little Bins for Little Hands: Early Learning Play Ideas

2) From Planet Smarty Pants: Back to School for Gifted Learners

3) From Krafts and Kiddos: Back to School Printable

4) From Lou Lou Girls: The First Day of School Celebration

5) From Living Montessori Now: 100+ Back-to-School Celebration Ideas


A Few of My Favorite Features

1) From Crystal's Tiny Treasures: First Nations Activities for Kids

2) From In the Playroom: Tissue Paper Butterfly Craft

3) From Mosswood Connections: Cooking Play Date

4) From Growing Book by Book: Environmental Print Billboards

5) From Two Keck Girls: DIY Pom Pom Rug

Thank you to everyone who shared last week!! I hope you will join us and share again!! If you are featured here, please feel free to grab a featured button to display proudly on your blog. 

Photobucket


Featured Button Code:


From Your Hostess:
This week Hazel had full day camp and I did not post much since we were not crafting much. We shared our book for Virtual Book Club for Kids, Quiet in the Garden by Aliki, our mermaid tail for dolls tutorial and pattern, and an easy doll spa wrap from a washcloth.


Now for This Week's Party 


A Few Simple Guidelines:
1)  Please follow Crafty Moms Share via GFC (or one of the other ways that work for you).  

2)  Link any kid-friendly, child-centered post. Please no etsy shops or giveaways, etc.  Remember to link to your actual post. 

3) Post the Sharing Saturday button on your sidebar or somewhere on your blog to help spread the word.
Photobucket


4) I would love it if you would follow me on FacebookGoogle+, and Pinterest 

5) If you do not have a blog, but want to share an idea you can leave it in the comments or e-mail it to me with a picture (if possible).

 
 Disclaimer: By sharing here, you are giving Crafty Moms Share permission to use your photos for features and to pin your craft at Pinterest.

Easy Spa Wrap for Dolls from a Washcloth


Today I picked up a pack of eight washcloths for $3.99 at KMart. I had seen spa wraps for 18-inch dolls all over the place and thought those are easy to make and relatively cheap with these washcloths. To make a wrap you need one or two washcloths depending on size of washcloth and doll. small piece of Velcro and two small pieces of ribbon. Since Hazel's dolls just missed being able to use one washcloth (except the BFC one) I used two and made a white stripe in both of the ones I made for the chubbier dolls. To do this, I cut a white washcloth in half and then sewed it with right sides together to the main washcloth.


Then I folded the white so it would add a few inches to the wrap and sewed the end of the white near the seam.


Next I checked the size on the doll and pinned where I wanted to sew the Velcro.

After sewing on the pieces of Velcro which I cut in half lengthwise so it would not be so wide on the doll clothes, I checked on the doll again for the placement of the straps (and the length). I pinned them and sewed them into place. Then the doll is ready for the spa!


The BFC doll's wrap was even easier since I did not have to add the white stripe. I just sewed the Velcro and straps on to it.

Now three of the four dolls are ready for a spa day or a beach day. I will make the fourth one as well. Maybe I should make myself one and just go to the spa.

For more doll ideas check out:

DIY Mermaid Tail for an 18-Inch Doll with Free Pattern


I have finally found time to give you the tutorial for the mermaid tail for the 18-inch dolls. I shared pictures of the first one awhile ago. I should mention that Hazel has of course lost the first one. Or at least misplaced it. I was hoping to tweak my pattern a bit but my tweaks without having the first one did not work well.